






In brief: make the blog public, try /sitemap.xml, submit the sitemap in the correct Google Search Console property, then use URL Inspection for the post URL. Select Request indexing only after the URL opens successfully and the live test shows no blocking issue. Submitting a sitemap does not guarantee that a post will be crawled, indexed, or appear on Google.
After reading this article, you will be able to check a sitemap and the status of a specific URL. The sample post “5 Things to Prepare Before Creating a Personal Blog” is illustrative data only. SaibABC Blog is a planned Blogger project; this article does not claim that the blog has been created, has a real address, or has been indexed by Google.
Google distinguishes crawling, indexing, and appearing in search results. Therefore, a successful sitemap status only means that the sitemap was fetched and processed; it does not prove that every URL in it has been indexed (according to Google Search Central).
Prepare the correct blog, property, and URL
You need:
- permission to manage the Blogger blog;
- a published blog that can be opened publicly;
- access to the corresponding property in Google Search Console;
- the public URL of the post you want to check;
- a log recording the check date, status, and next action.
The Search Console property must match the address readers open, including the protocol http or https and a subdomain such as www if applicable. If you are still confusing the Blogger management platform with a Blogspot address, see the article explaining the difference between Blogger and Blogspot.
In this series, property verification is covered in the previous article: Connect Blogger to Search Console: Choose the Right Property
Check That the Blog Is Publicly Accessible
- Sign in to Blogger with the account that manages the blog.
- Open Settings and check the options related to privacy, reader access, or visibility to search engines.
- Open the home page in a private window or a browser where you are not signed in.
- If the page requires you to sign in, stop and recheck reader access, the publication status, or the blog address.
Blogger recommends enabling the Visible to search engines option to help search engines discover the blog (according to support.google.com). The option's name or location may vary by language and interface; look for the equivalent settings group, and do not paste custom robots code until you understand its effect.
Expected result: a visitor who is not signed in can open the home page and the post. Being able to view the blog while signed in does not prove that ordinary readers or Googlebot can access it.
Identify and Check the Blogger Sitemap
A sitemap is a file listing URLs that gives search engines an additional way to discover content. For a Blogger blog, first try adding /sitemap.xml to the end of the public address:
https://[địa-chỉ-blog-của-bạn]/sitemap.xmlExample:
https://example.blogspot.com/sitemap.xmlReplace [địa-chỉ-blog-của-bạn] with your real address. Do not turn [địa-chỉ-blog-của-bạn] into a real URL if the blog does not yet have an address. SaibABC.Com is the WordPress website publishing the series, while SaibABC Blog is only an illustrative Blogger project.
If the blog has published static Pages, you may check a sitemap path for those pages only if Blogger actually provides it and the path opens successfully. Do not add or submit URLs taken from an unclear or unreliable guide. The required goal of this article is to identify the sitemap that is actually accessible, prioritizing /sitemap.xml.
Check Before Submitting
- Open a private browsing window.
- Paste the full sitemap URL.
- Confirm that the URL does not require sign-in and does not redirect to an unexpected address.
- Record the exact URL that opened successfully, including the protocol, subdomain and path.
If the browser reports that the page cannot be found, requests sign-in or redirects unexpectedly, do not submit that URL yet. Recheck the blog address, its public visibility and any custom robots settings if you have changed them. Googlebot must be able to access the sitemap; submitting a sitemap in Search Console only tells Google where it can find the file—it does not upload the file to Google's servers (according to Google Search Console Help).
Submit a Sitemap in Google Search Console
- Open Google Search Console using an account with access to the blog property.
- Select the correct property for the blog. Do not accidentally select SaibABC.Com or a different version of the domain.
- Open the Sitemapsreport.
- In the Add a new sitemap field, enter the path after the domain, for example
sitemap.xml. - Click Submit.
- After submitting, open the sitemap entry to view its status and any error messages.
If the interface requires the full URL, use the exact URL you checked, for example https://[địa-chỉ-blog-của-bạn]/sitemap.xml. Do not replace the placeholder with the name of a different project or website.
Success means that Search Console has successfully fetched and processed the sitemap. This does not prove that every URL has been crawled or indexed. If the sitemap reports an error, record the message, correct the path or access issue, and check again before resubmitting.
Check a Post with URL Inspection
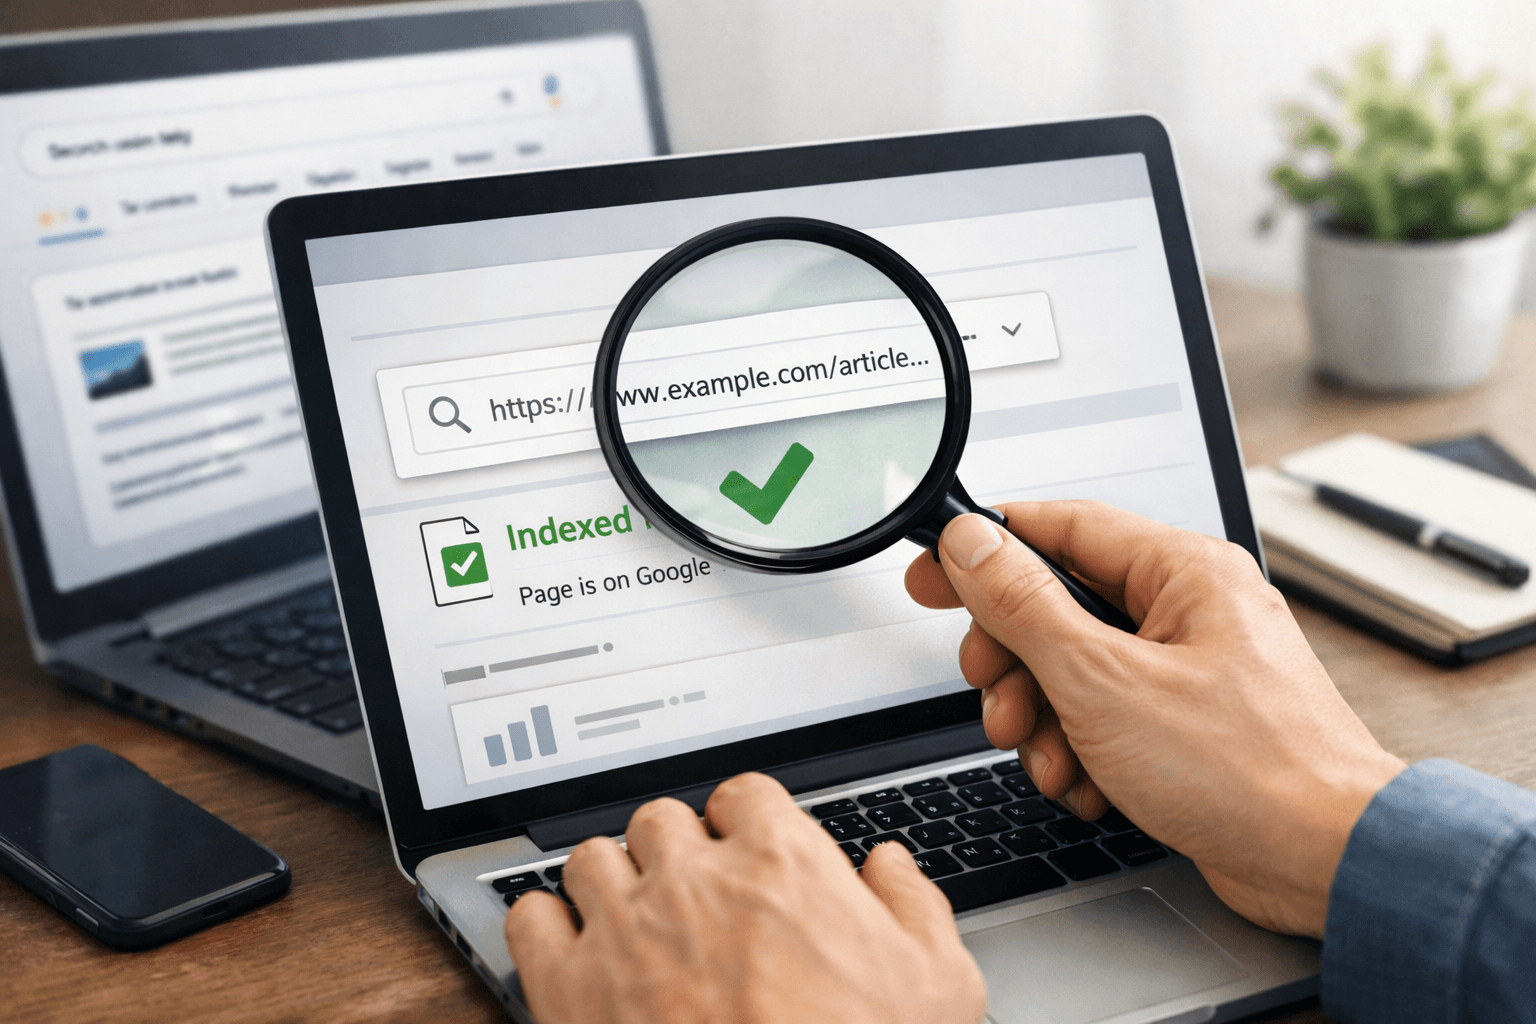
A sitemap only provides a list of URLs. To check a specific post, use URL Inspection in the same Search Console property.
- Copy the post's public URL; do not use the editing URL in the Blogger dashboard.
- Paste the URL into the inspection field at the top of Search Console.
- Make sure the URL belongs to the property currently open.
- Read the status of the indexed version.
- If the post was recently published or edited, select Test live URL to check the live version.
The indexed version and the live version may differ. For example, you may have edited the post in Blogger but Google may not have crawled the updated version yet. The URL Inspection tool shows what Google currently knows about the URL, but it does not check every condition related to the URL's appearance in search results (according to Google Search Console Help).
Understand Common Statuses
| Status | Meaning | What to do |
|---|---|---|
| URL is on Google | According to Search Console data, the URL has a version in the index. | Check the crawl date, canonical URL and content version if the post was recently edited. |
| URL is not on Google | The URL is not in the index or has an issue that requires further investigation. | Run a live test, read the stated reason and address the relevant cause. |
| URL is available to Google | The live test shows that Google can access and evaluate the URL. | If the post is new or was recently edited, you may request indexing once. |
| URL is not available to Google | The URL has an obstacle, such as being inaccessible, restricted or subject to a noindex directive. | Do not submit it repeatedly; fix the cause and then run the live test again. |
“Available” still does not mean “indexed.” Google also processes the content, canonical URL, duplicate versions and other conditions. If Search Console displays a specific reason, use that reason to decide the next step instead of changing multiple settings at once.
When Should You Request Indexing?
Select only Request indexing after:
- the URL is publicly accessible;
- the post is no longer a draft;
- the main content is complete;
- the URL is correct and does not redirect unexpectedly;
- the live test reports no issue preventing indexing.
A request for indexing only places the URL in a review queue; it does not guarantee that the URL will be indexed or appear for the keywords you want. Do not submit the request repeatedly on the same day to pressure Google. For multiple new or updated URLs, a sitemap is more suitable; for a specific URL, URL Inspection is the appropriate tool. Indexing requests are also subject to limits, and processing time varies by case.
Practice and keep an inspection log
Apply the process to the post “5 Things to Prepare Before Starting a Personal Blog” on your blog. If the post does not exist or does not yet have a real URL, replace it with a public post that you manage. Do not mark SaibABC Blog as inspected if you do not have a real address and actual data.
| Inspection date | URL | Sitemap | URL Inspection | Next action |
|---|---|---|---|---|
| [dd/mm/yyyy] | [URL bài viết thật] | Not checked / Success / Error | On Google / Not on Google / Needs fixing | [Sửa lỗi, yêu cầu lập chỉ mục hoặc chờ kiểm tra lại] |
For each significant change, record the URL before and after, the date and time, the Search Console status, the change made, and the live-test result. A log helps you avoid changing the title, URL, robots directives, and layout at the same time and then losing track of the cause.
Errors and misconceptions to avoid
The sitemap was submitted successfully, but the post is not on Google
This is not necessarily a sitemap error. Google may not have crawled the URL yet, may not have selected it for indexing, or may not be showing the URL for the query you are testing. Inspect the URL itself with URL Inspection.
Using an administrative URL instead of the post URL
The editing URL in Blogger is intended only for administrators. Search Console needs the URL that readers can open, which usually begins with the blog’s public address and contains the post path.
Seeing the post while signed in and concluding that it is public
Administrative access may let you view content that people who are not signed in cannot see. Always open the URL in a private window before submitting the sitemap or requesting indexing.
Repeatedly submitting the request to get indexed faster
Repeated submissions do not turn a request into a guarantee. If the URL is not eligible, fix the cause identified by Search Console; if no clear cause is shown, record it in the log and check again instead of changing multiple settings at once.
Changing robots.txt or robot directives arbitrarily
Do not add custom robots configuration simply because the post has not appeared. Make changes only when you understand whether the directive is blocking crawling or preventing indexing, and you have a way to test and revert it. A directive noindex only takes effect if Googlebot can still access the page to read it (according to Google Search Central).
Completion checklist and next steps
- The blog opens in a window where you are not signed in.
- The correct Search Console property is selected.
- The URL
/sitemap.xmlopens publicly, or you have recorded why it is not being used. - The sitemap was submitted in the correct property, and its status was recorded.
- The correct public URL of a post was copied.
- The URL Inspection result was read and its status recorded.
- Indexing was requested only after the URL passed the live test.
- The inspection date, action, and limitations of the result were recorded.
The exercise is complete only when the log contains the real URL, inspection date, sitemap status, URL Inspection status, and next step. “Sitemap submitted” is not, by itself, evidence that the post has been indexed.
If the URL is still not indexed, retain the specific message and the data in your log. The next article in the series will use that information to diagnose accessibility, visibility permissions, redirects, indexing directives, canonical URLs, and content. While you wait, keep the URL stable unless you have a clear reason to change it; do not promise when the post will appear, and do not treat failure to find the post through a single search query as a final conclusion.
Reference source
- Help people find your blog on search engines — Blogger Help.
- Sitemaps report — Search Console Help.
- URL Inspection tool — Search Console Help.
- Learn about sitemaps — Google Search Central.
- In-depth guide to how Google Search works — Google Search Central.
- Block Search Indexing with noindex — Google Search Central.
