






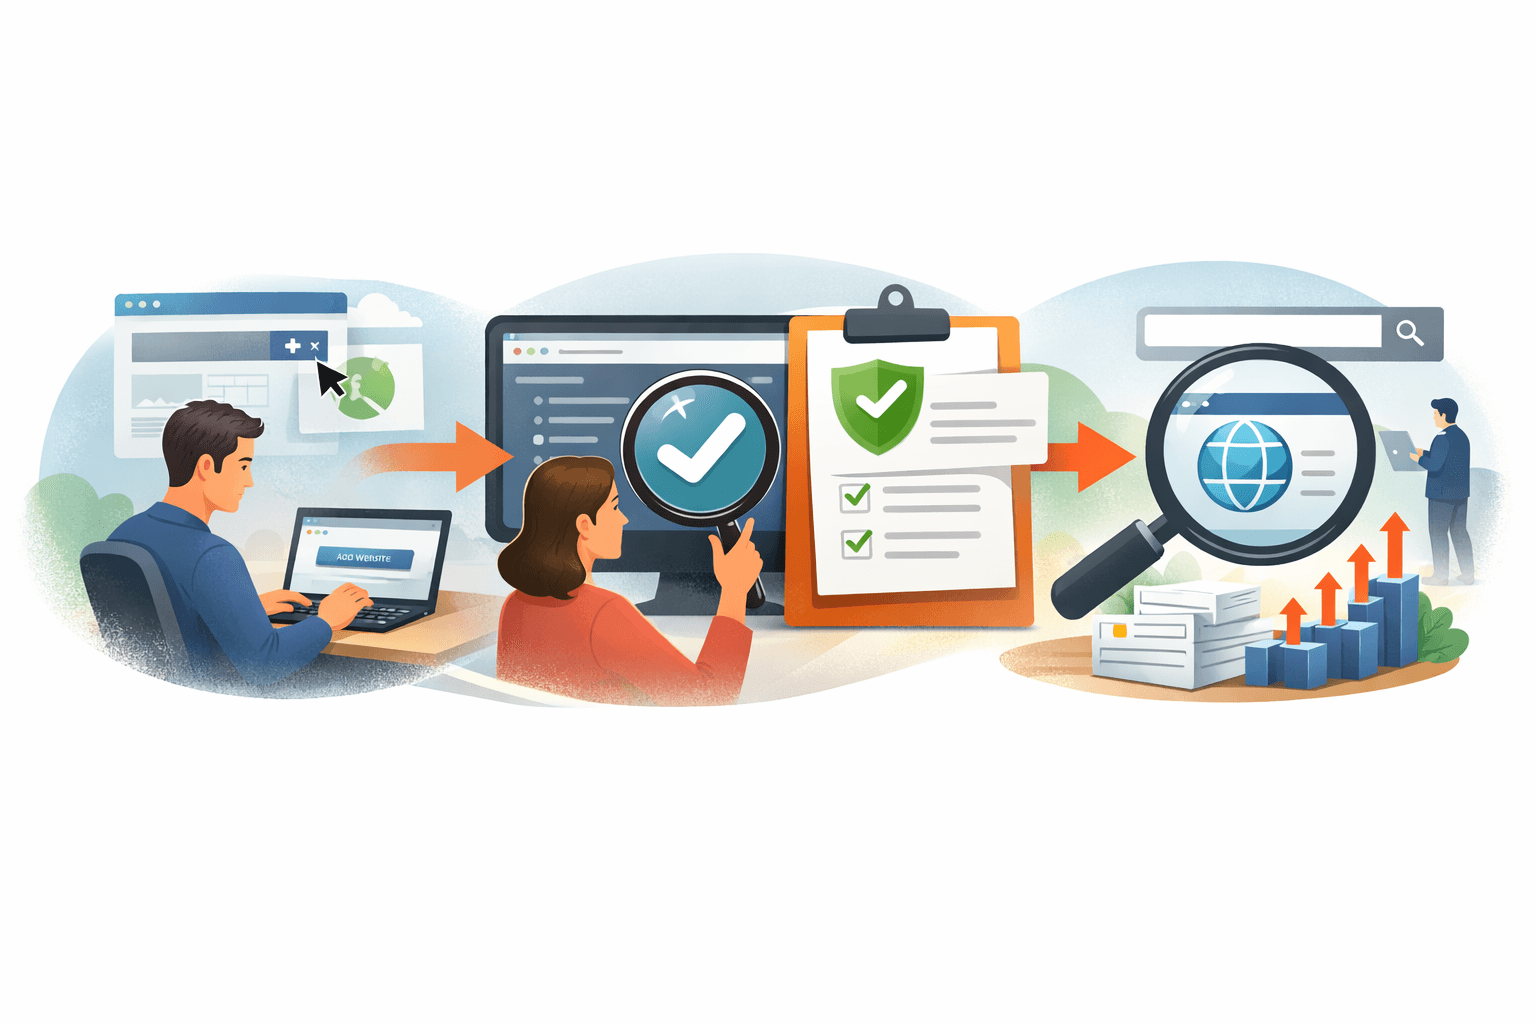
If you already have a website but have never used Yandex Webmaster, start with two tasks: sign in or create a Yandex ID, then add the correct website address. After this article, you will know whether Yandex has accepted the website into your list or is requesting verification of your ownership or management rights.
This process does not verify your management rights, does not submit a sitemap, and does not mean that Yandex has indexed the website. It is the initial connection step before you continue with verification and website checks.
Prepare the URL and access before you begin
You need:
- An active website that can be opened in a browser.
- The official URL, including the protocol
http://orhttps://, together with whether it useswww. - An active Yandex ID or the information needed to register a new account.
- An account-recovery method that remains under the control of the person responsible for the website long term.
Open the website in a private window, wait for the page to finish loading, and record the final address shown in the browser’s address bar. For example, if you enter http://example.com but the browser redirects to https://www.example.com, use the final address for comparison. If the versions produce different results and you do not know which is the official version, record the status as “Undecided” and ask the administrator; do not change DNS or set up redirects yourself.
For the example website SaibABC.Com, keep the placeholder [URL chính thức của website] until the actual address has been checked. Do not turn the example website name into a verified URL yourself.
Sign in or create a Yandex ID
If you already have a Yandex account
- Where to work — browser: open Yandex Webmaster.
- Select the sign-in option and enter your Yandex ID credentials.
- If the browser is signed in to multiple accounts, check the name or identifying information for the current account before continuing.
Expected result: you can access Yandex Webmaster without being redirected back to the sign-in screen, and you know which account is active. If it is the wrong account, sign out and sign in again; do not share your password so someone else can “help” you perform the task.
A Yandex ID is an account shared across multiple Yandex services. Choose an account managed by the person or organization responsible for the website long term, rather than temporarily using a collaborator’s account who may no longer work on the project.
If you do not have an account
- Where to work — Yandex sign-in screen: select the option to register an account.
- Enter the information requested by the current form.
- Confirm the phone number or verification method shown by Yandex.
- Create a unique password; do not reuse your WordPress, hosting, or website-administrator email password.
- Store the account-recovery method in a secure location and allow only the appropriate person responsible for the website to use it.
The registration form may change depending on the country, time, and account type. Follow the form currently displayed rather than relying on an outdated interface screenshot. Yandex states that a phone number may be used for secure sign-in and access recovery; therefore, do not use a phone number you no longer control (according to yandex.com).
Check before moving on: reopen Yandex Webmaster and confirm that you are using the correct account. If you manage the website for an organization, record the name or role of the primary account holder in the setup log.
Add your first website to Yandex Webmaster
- Where to work — Yandex Webmaster: open the website-list management area or the start page.
- Select the button equivalent to Add site or Add website. The button name may vary depending on the interface language.
- Enter the official URL in the requested field. Do not use
[URL chính thức của website]as real data. - Check four elements: the HTTP/HTTPS protocol, the www prefix, the domain name, and the address scope. At this stage, enter the root address rather than the URL of an article or subdirectory.
- Select the Add site button to submit the address.
Expected result: Yandex accepts the URL and displays the website in the list or shows a message indicating that further action is required. If the URL is rejected, record the exact message before changing any configuration.
Yandex requires the URL to be entered as the address you want to monitor, including the protocol and the www prefix www if applicable. Therefore, https://example.com and https://www.example.com may be treated as different addresses in the management process (according to yandex.com).
| Check | Correct example | Do not |
|---|---|---|
| Protocol | https:// if the website officially operates over HTTPS | Switch to HTTP simply because an online example uses HTTP |
| Prefix | Keep the correct version, with or without the prefix www | Enter a version that differs from the website’s final address |
| Scope | The root address, such as https://example.com | Enter the URL of an article or subdirectory |
| Placeholder | Use the actual URL you checked | Turn [URL chính thức của website] it into a fake link |
For SaibABC.Com, enter the address only after checking the actual HTTPS and www versions. This article does not claim that any particular SaibABC.Com address has been selected or added successfully.
Read the status after submitting the URL
After submitting the URL, read the message displayed on the screen instead of inferring the result from whether the page loads:
- Website appears in the list: The URL has been accepted at the interface level.
- Yandex requests ownership verification: the URL-addition step has moved on to proving that you control the website. You will choose a suitable method in the next article.
- Yandex suggests a different primary address: carefully check HTTP/HTTPS and www before accepting it.
- Yandex reports an access error: check whether the website is publicly accessible, requires login, is in maintenance mode, or is being redirected abnormally.
Yandex states that the server must return an HTTP status code 200 OK to the Yandex bot and Yandex Webmaster bot, or redirect to a final page that returns 200 OK. If the website cannot be accessed or access is restricted, address the cause first; do not change DNS merely to follow an example (according to yandex.com).
Distinguish between adding a website, verification, and indexing
| Status | Meaning | Completed after this article? |
|---|---|---|
| Yandex ID sign-in | You can access the service using a Yandex account. | Yes, if sign-in succeeds. |
| Add website | The website address has been added to Webmaster’s management list. | May be completed in this article. |
| Ownership verification | Yandex has evidence that you control the website. | Not covered in this article. |
| Indexing | Yandex has processed the URL and may consider it for search results. | Must not be inferred from adding the website. |
Seeing a website in the list does not prove that it has been indexed or ranked. Yandex also notes that adding a website to Webmaster does not guarantee that it will appear in search results.
Troubleshooting errors immediately after adding a website
The wrong URL variant was entered
Signs: you entered the version without www, but your browser or Yandex shows the www version as the canonical address, or vice versa.
Safe handling: stop, open the website in a private window, record the final address, and compare it with the site administrator. Do not change DNS or redirect settings yourself. If you need to add the website again, use the confirmed URL and record the old URL to avoid confusion.
The website is listed, but no data is available yet
Sign: the website appears in the list, but its reports contain no information yet.
How to interpret this: the data may not be ready yet, or ownership may not have been verified. Read the verification status and the tool’s messages; do not conclude that the website is faulty or has been indexed based solely on an empty report.
Yandex suggests a different primary address
Yandex may group HTTP/HTTPS variants or versions with and without www, then suggest the address that its system considers primary. Check whether that suggestion matches the version you want to manage. If it does not, do not accept it immediately; record the address and discuss it with the site administrator.
You no longer have access to your Yandex ID
Do not create a new account immediately if the old account still holds the website’s management configuration. First, use Yandex’s account-recovery process and check the phone number or verification method provided. If recovery fails, record the old account and the person responsible for it before asking the site owner to resolve the access issue.
Record the results
After completing the steps, record the following four lines in your website setup log:
Tài khoản Yandex sử dụng: [người hoặc vai trò phụ trách]
URL đã thêm: [URL chính thức của website]
Trạng thái hiện tại: [đã thêm / yêu cầu xác minh / báo lỗi]
Việc tiếp theo: [chọn phương pháp xác minh hoặc xử lý lỗi URL]
The exercise is complete when you can answer these three questions:
- Which account is currently signed in to Yandex Webmaster?
- Does the added address use the correct protocol and www prefix?
- Does the current screen request verification, require an error to be resolved, or simply indicate that the URL has been added?
Next step: verify website ownership
Once the website appears in Yandex Webmaster, the next step is to select and implement a verification method that matches the access you have: edit WordPress, upload a file to the hosting account, or create a DNS record. You do not need to use all three methods.
Verify a WordPress Website with Yandex Webmaster: Which Method?If you want to understand the tool’s role before continuing, see What is Yandex Webmaster used for? to distinguish Webmaster from web analytics tools and advertising platforms.
Reference source
- Getting started — Yandex Webmaster.
- Context-sensitive help — Yandex Webmaster.
- Primary and alternate site addresses — Yandex Webmaster.
- TERMS OF USE OF YANDEX ID SERVICE — Yandex.
