






Short answer: Do not immediately delete all your DNS records or reconfigure Blogger from scratch. First, write down the four addresses you need to check: a subdomain such as www.tenmiencuaban.com, the root domain such as tenmiencuaban.com, the http:// version, and the https://version. Then classify the problem as a DNS record, domain verification, redirect or HTTPSproblem.
After reading this article, you’ll have a beginner-friendly troubleshooting process: where to check, which records to obtain directly from Blogger, how to recognize an incorrect redirect, and how to undo changes without accidentally affecting your email or another website. SaibABC Blog is only a proposed illustrative project; this article does not claim that the blog has a domain or has achieved any actual results.
Record the current state before making changes
To preserve a way back, prepare the following:
- Administrator access to the correct Blogger blog.
- Permission to edit DNS at your domain provider.
- The actual domain, such as
www.tenmiencuaban.com. Do not use SaibABC.Com for practice. - A screenshot or written record of the current DNS configuration.
- The exact error message shown in Blogger or the browser.
- The time when you most recently changed the DNS or HTTPS settings.
Create a record of the current state before editing:
| Item | Value to record |
|---|---|
| Subdomain | www.tenmiencuaban.com |
| Root domain | tenmiencuaban.com |
| Current CNAME and A records | Host name, record type, and target value |
| Blogger status | Custom domain, Redirect domain, HTTPS availability, and HTTPS redirect |
| Final URL | The address that remains in the browser after loading finishes |
| Time of change | Date, time, and the action just performed |
Safety principle: do not delete records used by email, servers, or other services simply because they do not match the Blogger example. A safe rollback means restoring the affected record to the value you recorded earlier—not deleting the entire DNS zone.
Classify the symptom before choosing a solution
| Symptom | Possible cause | First check |
|---|---|---|
| Unable to save the domain in Blogger | The blog CNAME or verification CNAME is incorrect; the wrong Google Account is being used; or the record has not propagated | Reopen Custom domain, retrieve the correct two CNAME records displayed by Blogger, and compare them character by character |
www does not load, but the root domain responds | The CNAME for www is incorrect, duplicated, or points to another service | Check the CNAME for www; do not substitute the root domain's A record |
The root domain does not load or does not redirect to www | Google's four A records are missing, or Redirect domain has not been enabled | Check the root domain's A records and the Publishing settings in Blogger |
| The address loads but redirects repeatedly | Multiple redirect layers are being combined at the domain registrar, in Blogger, or through a proxy service | Record the final URL and pause unnecessary changes |
| HTTP loads, but HTTPS reports an error | The certificate has not been issued, CAA is blocking the certificate authority, or HTTPS redirect was enabled too early | Check HTTPS availability, CAA if present, and the certificate status |
| Blogger reports verification failure | The verification CNAME does not match the current blog or Google Account | Retrieve the verification record from the Blogger screen for the blog you are currently managing |
Check and fix DNS in order
1. Retrieve the correct domain and two CNAME records from Blogger
In Blogger, go to Settings > Publishing > Custom domain. Enter the subdomain, usually www.tenmiencuaban.com, and then review the message displayed by Blogger. Blogger typically provides two CNAME records: one blog CNAME pointing to ghs.google.com and one verification CNAME with a value specific to your blog and Google Account (according to support.google.com).
Do not copy the verification CNAME from a tutorial, screenshot, or another blog. This value must come from the specific blog you are editing. If you have multiple Google Accounts, check the profile picture and blog name before retrieving the record.
2. Compare the CNAME records at your domain provider
In the DNS panel, check each of the following:
- The Host or Name of the first CNAME is
wwwor the exact subdomain requested by Blogger. - The target value of the blog CNAME is
ghs.google.com. - The verification CNAME matches both the name and the unique value provided by Blogger.
- No other record with the same host causes the provider to prioritize a different target.
- Do not enter the protocol
https://in the Host or Target field.
Providers may label these fields differently, such as Host, Name, Label, Target or Points to. Compare what each field means rather than mechanically copying the button labels.
3. Check A records only when the root domain needs to redirect to www
Blogger uses a subdomain such as www.tenmiencuaban.com as the primary address. If you want users to enter tenmiencuaban.com and then be redirected to www.tenmiencuaban.com, the root domain needs the following four A records:
216.239.32.21
216.239.34.21
216.239.36.21
216.239.38.21
Replace the root domain's existing A records only after confirming that they do not serve a website, server, landing page, or other service. Then, in Blogger, enable Redirect domain in the Publishing section. This is a one-time redirect from the root domain to the subdomain, not a reason to add multiple external redirect layers (according to support.google.com).
If you only need to check www, you do not need to change the root domain’s A records yet. This helps prevent disruption to a website or email service already using that domain.
Fixing access and verification failures
Follow this troubleshooting sequence:
- Open
www.tenmiencuaban.comin a private browsing window. - If it does not open, return to Blogger and check whether the custom domain is still saved.
- Open the Custom domain section to retrieve the current CNAME records.
- Compare the CNAME records at your domain provider, paying particular attention to the host name and verification CNAME.
- Check whether
wwwis pointing to another service, a Forwarding feature, Parking, or a Website Builder. - Do not delete and add large numbers of records at once; change one group, record the time, and wait for the system to update.
- After the DNS configuration is correct, save the domain again in Blogger and check it from a private browsing window.
Blogger documentation states that after adding a CNAME, you should wait at least one hour before repeating the setup process; the blogspot.com address may also take up to 24 hours to switch to the custom domain. Therefore, an unchanged result does not automatically prove that the record is incorrect (according to Blogger Help).
Fixing incorrect redirects without creating a loop
First, distinguish between the two types of redirects:
- Redirect domain: redirects the root domain, such as
tenmiencuaban.com, to a subdomain such aswww.tenmiencuaban.com. - HTTPS redirect: redirects HTTP traffic to HTTPS after the certificate is ready.
Incorrect redirects commonly occur when Redirect domain is enabled but the root domain still points to another server, or when the domain provider has its own Forwarding service. Do the following:
- Record the initial URL and the final URL.
- Check the root domain’s DNS records.
- Check Redirect domain in Blogger.
- Disable or correct the external redirect service if it is competing to handle the same address.
- Do not enable additional redirects at the CDN, registrar, and Blogger merely to “force” the result.
If the problem occurs only on one post or Page, do not change the DNS. Check the post URL, internal links, and the Errors and redirects > Custom redirects section in Blogger. DNS cannot fix an incorrectly entered post URL.
Fixing HTTPS and certificate errors
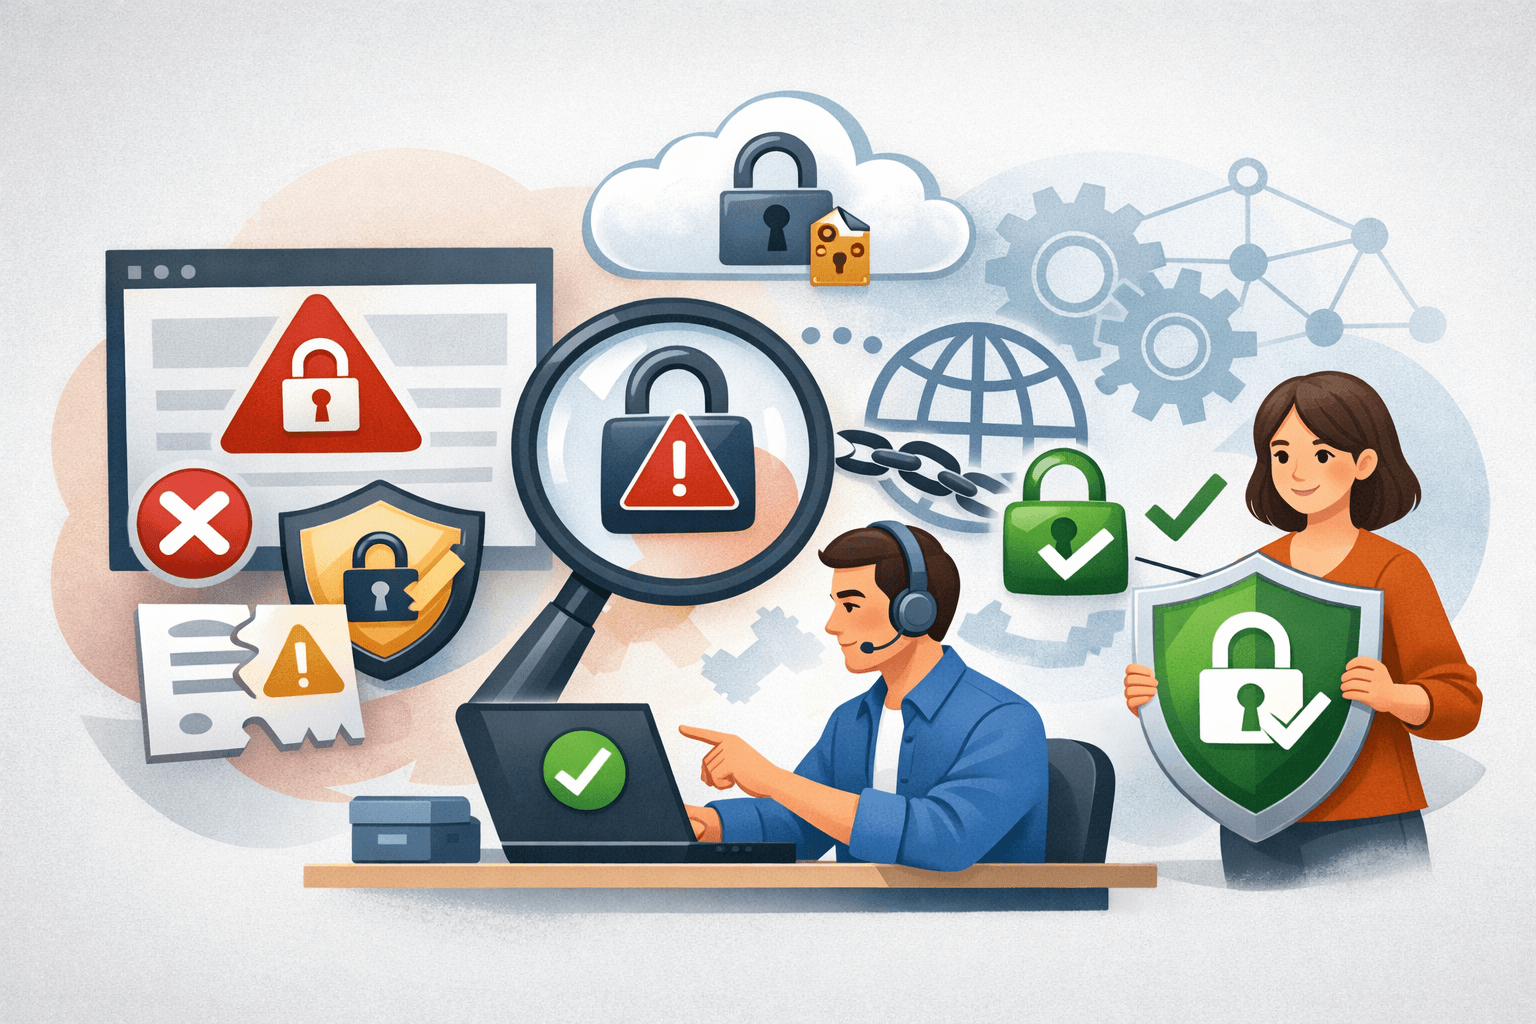
For Blogspot addresses, HTTPS is enabled automatically. For a custom domain, check HTTPS availability before enabling HTTPS redirect. HTTPS redirect should be enabled only after the domain’s HTTPS version is ready (according to support.google.com).
When HTTPS is not ready
- Confirm that the CNAME for
wwwstill points to Blogger. - Confirm that the verification CNAME is still present and matches the account managing the blog.
- Check the root domain’s DNS if you have enabled Redirect domain.
- If the DNS zone contains a CAA record, check whether it allows
letsencrypt.org. - Wait for the system to issue the certificate; do not enable HTTPS redirect while HTTPS availability has not been confirmed.
CAA (Certification Authority Authorization) is a DNS record that limits which certificate authorities may issue certificates for a domain. If the domain actually has a CAA record and Blogger reports a related error, check whether it allows letsencrypt.org. Do not add a CAA record solely because you saw an example on the Internet.
You can also consult the Blogger CAA troubleshooting guide if the problem is centered on the certificate and requires further analysis.
When HTTPS redirect causes an error
If the browser reports a certificate error, cannot load the page, or enters a redirect loop after you enable HTTPS redirect:
- Disable HTTPS redirect.
- Keep the current DNS records and record the error message.
- Check HTTPS availability, the CNAME records, and the CAA record if one exists.
- Enable HTTPS redirect again only after the HTTPS address opens directly and successfully.
Do not conclude that the certificate is broken simply because the browser is using cached data. Try a private window or another device, but still check the final URL and any certificate warning rather than relying only on the padlock icon.
Post-fix verification checklist
Mark the task complete only after checking from the perspective of a user who is not signed in:
https://www.tenmiencuaban.comthe blog opens.http://www.tenmiencuaban.comit redirects to HTTPS at the correct address.https://tenmiencuaban.comit redirects correctly if the root domain has been configured.http://tenmiencuaban.comit does not redirect to an unfamiliar service or create a redirect loop.- The homepage opens, not just the Blogger dashboard.
- A public post opens using the new domain.
- A public Page opens if the blog has one.
- The final URL uses the selected protocol and domain.
- The browser does not display a certificate warning.
- You have recorded the DNS settings after the change and the date of the check.
If the blog restricts reader access, a private window may require you to sign in. In that case, check Reader access and the post’s publication status before concluding that DNS or HTTPS is at fault.
When should you roll back, and when should you stop?
| Situation | Safe action |
|---|---|
| You just changed a CNAME, and the website is not responding | Allow reasonable time for the change to propagate, keep the record in place, and note the time; do not modify multiple layers at once |
| Another website or email is affected | Restore the changed record to its previous value; first check the affected service |
| HTTPS redirect causes an error | Disable HTTPS redirect, but leave HTTPS availability enabled so you can continue troubleshooting |
| You do not know which records belong to the service currently in use | Stop making changes and ask the DNS provider for help; do not delete the DNS zone |
| You no longer have access to the Google Account or domain registrar | Restore access first; do not create another blog or domain to work around the problem |
You do not need to remove the domain from Blogger simply because one address is not responding. Removing and adding it again should be a last resort, after you have recorded the configuration and identified a specific problem with the domain’s linked status in Blogger. If you must do this, obtain a new CNAME from the Custom domain screen instead of mechanically reusing the old value.
Diagnostic exercise for your blog
Create a worksheet with these columns: URL, page-opening result, final URL, error code or warning, related record, changes made and time checked.
Fill in four rows: the subdomain over HTTPS, the subdomain over HTTP, the root domain over HTTPS, and the root domain over HTTP. Then answer these questions:
- Does the problem occur at every address or only one variant?
- Does the final URL use the domain and protocol you want?
- Which changes can be reversed using the saved records?
This worksheet helps you avoid changing multiple variables at once and provides clear information if you need assistance from your domain provider.
What you have accomplished and what to do next
You can consider the troubleshooting complete once you have identified the problem category, corrected the appropriate configuration layer, opened the public address over HTTPS, and know how to restore the affected records. This only shows that the access path is working; it does not show that the blog has readers, has been indexed, or has search rankings.
Once the domain is stable, keep the DNS record table, HTTPS status, and check date. The next step is to plan content for the blog rather than continuing to make untargeted DNS changes.
In the example project, SaibABC Blog remains only a proposed name for the practice blog; SaibABC.Com is a WordPress website publishing the series and is not a domain for you to use when testing the configuration.
In the next article, you can use these diagnostic results to create a content plan suited to your blog:
Blog Content Plan: Your First 20 Posts and Their Publishing OrderReference source
- Set up a custom domain — Blogger Help.
- Turn on HTTPS for your blog — Blogger Help.
- Manage your blog’s settings — Blogger Help.
