






Check WordPress plugins before updating within 24 hours is a balanced way to pursue two goals: patch vulnerabilities early without deploying an unverified release to a live website. This process is especially useful for e-commerce, membership, news, or systems with many interconnected plugins.
WordPress has supported enabling automatic updates for individual plugins since version 5.5. According to the official documentation, the system typically runs automatic update tasks about twice a day and sends an email when an update succeeds or fails (according to WordPress.org). However, WordPress plugin auto-updates do not replace checking changes, creating backups, and testing.
Why should you delay plugin updates for 24 hours?
A new update may fix a security vulnerability, but it may also cause conflicts with the versions of WordPress, PHP, the theme, or other plugins. The risk does not come only from programming errors. A compromised release account, source code repository, or packaging process can also turn a legitimate update into a vehicle for spreading malware.
This type of risk is often called a WordPress supply chain attack: the website receives malware through a component that the administrator inherently trusts. In June 2026, WordPress announced a test of a maximum 24-hour waiting period before plugin and theme releases are distributed through automatic updates, providing additional time to review changes (according to WordPress.org).
This period is not a guarantee that a plugin is completely safe. It simply creates an “observation window” for you to check:
- Whether the changelog matches the new version.
- Whether the developer has responded to unusual errors.
- Whether the staging website has developed interface, PHP, REST API, or payment errors.
- Whether the plugin files contain suspicious changes or unnecessary external connections.
Emergency cases require a different approach. If the update fixes a vulnerability that is actively being exploited, do not mechanically wait the full 24 hours. Prioritize updating after backing up, verifying the release source, and preparing a recovery plan.
The process for checking WordPress plugins before updating within 24 hours
Step 1: Record the version and level of importance
When an update notification appears, record the plugin name, current version, new version, release time, and the websites using that plugin. Classify plugins by impact level:
- High: WooCommerce, payment gateways, login, membership, backup, security, caching, or plugins that process customer data.
- Medium: forms, SEO, search, email marketing, and CRM integrations.
- Low: widgets, visual effects, or tools used only in the administration area.
Updates for high-impact plugins require manual approval. For low-impact plugins, you can automate more if you have reliable backups and monitoring.
Step 2: Read the changelog and verify the release source
Do not click “Update now” as soon as you see the notification. Open the official plugin page, read the changelog, review the required PHP and compatible WordPress versions, and check the upgrade notes. Plugins installed from a ZIP file or a commercial source may not display notifications like plugins in the WordPress.org directory; in that case, check the vendor’s website and separate update mechanism (according to WordPress.org).
Pause if you encounter any of the following signs:
- The author’s or vendor’s name has changed unusually.
- The changelog is overly sparse while the version has changed significantly.
- The plugin requests access or external connections unrelated to its functionality.
- The community reports serious errors, unusual redirects, abnormal administrator accounts, or new files with unclear origins.
If you are building a long-term checklist, you can refer to a WordPress plugin and theme testing checklist to add version-specific checks.
Step 3: Back up and create a WordPress staging site
Before updating, create a backup that includes the database and all WordPress files. Verify the backup by confirming that the files can be downloaded, the database can be opened, and the recovery process has been tested at least once.
Next, create a WordPress staging site that is as similar to the live website as possible. The staging site should use:
- The same PHP and WordPress versions.
- A recent database copy with sensitive data masked or replaced.
- The same theme, plugins, cache configuration, and external integrations.
- Indexing blocked and access restricted by password or IP address.
You should not test by simply copying the plugin files into an empty directory. Many errors appear only when the plugin interacts with actual data, cron jobs, webhooks, caching, or payment processes.
Step 4: Test the update and check core functionality
On staging, update only the plugin being tested first. Do not update ten plugins at the same time, because it will be difficult to identify the cause if an error occurs. Then check:
- The homepage, post pages, contact page, and main template layouts.
- Logging in, logging out, permissions, and password resets.
- Data submission forms, notification emails, and webhooks.
- The shopping cart, checkout, discount codes, and order emails for e-commerce websites.
- The REST API, XML-RPC if in use, cron jobs, and background tasks.
- PHP logs, server logs, JavaScript errors, and Site Health warnings.
For more convenient website monitoring, you can also explore WordPress administration tools in the browser if your process needs to check multiple websites.
Step 5: Check Security and Changed Files
WordPress plugin security is not just about checking whether a plugin has a CVE. You also need to see which files were added, modified, or deleted after the update. Pay particular attention to new PHP files outside the usual structure, code that calls unfamiliar domains, new administrator accounts, or changes in wp-config.php.
Vulnerability databases help identify problematic versions, but not every tool can detect new backdoors that do not yet have an identifier. Therefore, you should combine version checks, file scanning, change monitoring, and server log reviews.
WordPress recommends keeping information about unresolved vulnerabilities confidential and reporting them privately to the developer or plugin team rather than publicly disclosing exploit details (according to WordPress.org).
Set Up WordPress Plugin Auto-Updates Based on Risk Level
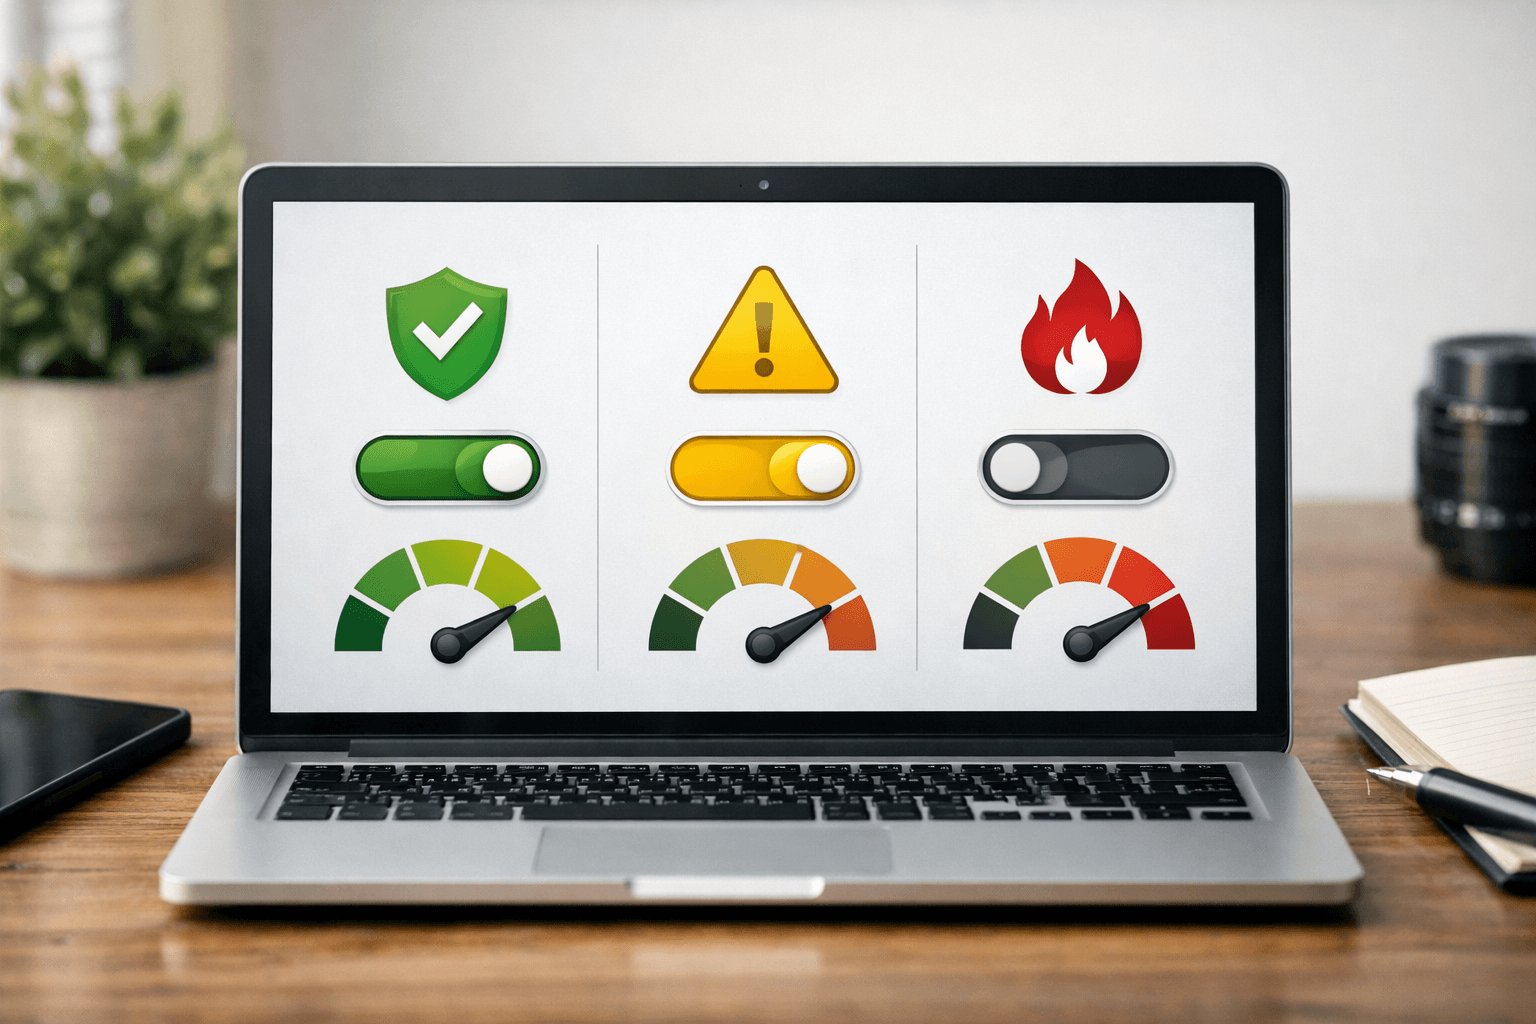
You should not choose a single policy for every plugin. Instead, use a tiered model:
| Plugin group | Recommended policy | Minimum checks |
|---|---|---|
| Payments, memberships, customer data | Disable automatic updates; review manually | Staging, backups, transaction checks, and logs |
| Security, backup, and caching | Prioritize rapid updates with monitoring | Read the changelog, check rollback, and review alerts |
| SEO, forms, and integrations | Delay for 24 hours | Staging, forms, webhooks, and email |
| Widgets and minor interface features | May enable automatic updates if stable | Smoke-test the homepage and Site Health |
In the WordPress interface, you can enable or disable automatic updates for each plugin. If you manage WordPress with WP-CLI, the status can also be checked with the command wp plugin auto-updates status ten-plugin; the WP-CLI documentation provides corresponding commands to enable, disable, and view the status (according to WordPress.org).
For technical teams, record decisions in a management table containing the plugin name, owner, criticality, update policy, last review date, and approver. This turns updating from a manual task into an auditable process.
If your website is frequently scanned by bots or has many publicly accessible entry points, combine the update process with the guide to protecting WordPress from unknown bots and crawlers.
How to Decide Whether to Update, Delay, or Roll Back
When should you update immediately?
Update immediately after backing up and verifying the source if the release patches a critical vulnerability, especially when there are signs that it is being actively exploited. In this situation, the benefit of reducing exposure time may outweigh compatibility risks.
When should you delay?
Delay if the plugin is not related to an urgent security issue, the release contains major changes, the provider has recently changed ownership, the changelog is unclear, or the community is reporting errors. After 24 hours, review the feedback, test on staging, and update production only during hours when someone is available to monitor it.
When should you roll back?
If the website experiences a serious failure, put the site into maintenance mode, save the logs, capture the current state, and restore the plugin version or the entire website from a verified backup. Do not delete the logs before determining the cause. Then report the issue to the developer with the WordPress, PHP, and plugin versions, the error message, and the reproduction steps.
A common mistake is disabling all automatic updates without creating an alternative review schedule. This reduces the risk of faulty updates but prolongs the existence of vulnerabilities. A better policy is to automate notification collection while basing the update decision on the level of impact.
In summary, a 24-hour process does not mean delaying every patch. It is a controlled period for reading the changelog, verifying the source, backing up, testing on staging, and monitoring after the update. For critical plugins, review manually; for low-risk plugins, you can use WordPress plugin auto-updates, but you must maintain backups and alerts. When performed consistently, this protects WordPress plugin security while reducing the likelihood that a legitimate update will disrupt the website.
Reference source
