






If you want to create a Blogger blog, success means more than simply seeing the dashboard. You need to create the correct blog with your Google Account, choose an available Blogspot address, and open that URL in a window where you are not signed in to confirm that readers can access it.
In this article, SaibABC Blog is only an illustrative name for the practice project. The article does not claim that this blog has been created, that it has a real address, or that it has readers. You can replace it with your own name and address.
Prepare before creating the blog
- An existing Google Account, or an account you are authorized to use to manage the blog.
- A password and sign-in method that you still control.
- A recovery phone number or email address, if you can set one up.
- A proposed blog name and at least two or three alternative Blogspot addresses.
- An up-to-date browser such as Chrome, Firefox, Safari, or Microsoft Edge.
If you have used Gmail or another Google service with an email address and password, you usually already have a Google Account. Choose an account that you can manage long term; do not use a temporary account if the blog is expected to contain important content (according to support.google.com).
Check whether you can recover the account
In Google Account management, check your recovery phone number or email address. Choose information that is active and does not depend entirely on a device you might lose. Recovery information supports the process of regaining access when you forget your password or detect unusual activity (according to support.google.com).
If you do not have a Google Account, create one through the official process and complete any verification steps requested on screen. Do not share your password, verification codes, or recovery codes with anyone else.
Distinguish the blog name from the Blogspot address
The blog name is the display name readers use to identify the blog. The blog address is the URL readers enter in their browser, usually in the form of tenblog.blogspot.com when you have not connected a custom domain.
| Component | Illustrative example | Role |
|---|---|---|
| Blog name | SaibABC Blog | The blog's display name and identity |
| Blog address | [địa chỉ Blogspot thực hành] | The URL readers use to access it |
The name and address may be identical, but they do not have to be. Prioritize a name that is easy to read and remember and does not contain unnecessary personal information. If your preferred address is already in use, you must choose another option. An available status in Blogger indicates only technical availability at the time of checking; it does not automatically confirm rights to a similar trademark or guarantee that the blog will have readers.
If you are still unsure about the difference between Blogger, Blogspot, and a custom domain, see the article distinguishing Blogger from Blogspot before making a long-term investment. This article focuses only on creating a blog with a Blogspot address.
Create a new blog on Blogger
1. Open Blogger and choose the correct Google Account
Open Blogger in a browser on your computer or phone, then choose to sign in. If the browser is signed in to multiple accounts, check the profile picture and email address before continuing. This step is important to avoid creating the blog in the wrong account.
2. Choose to create a new blog
In the Blogger interface:
- Open the blog-selection menu in the upper-left corner.
- Select New blog or an equivalent option meaning to create a new blog.
- Enter the proposed blog name.
- Select Next.
If you see the post list or the dashboard for an existing blog, check the blog-selection menu again. Creating a new blog is different from creating a post in the blog currently open.
3. Enter the blog name
In the blog name field, you can enter SaibABC Blog to follow the example, or use your own name. For a real blog, choose a name that fits the topic and can be used long term. There is no need to stuff the name with keywords.
4. Choose a Blogspot address
Enter the address name that Blogger requests. The system will check whether it is available. If you receive a message that the address is already in use, try one of the alternative options you prepared. Prefer an easy-to-read variation rather than adding a random string of numbers that makes the address difficult to remember.
If the field requires only the name portion, do not enter https://. Review the URL displayed on the screen before proceeding to save.
5. Save the blog
When the name and address are valid, select Save. Blogger will create the blog and take you to the dashboard. The official process consists of signing in, selecting New blog, entering a name, choosing an address or URL, and saving it (according to support.google.com).
If the system does not let you save, you cannot yet consider the blog created. Record the error message, check the address field, and confirm that you are using the correct account before trying again.
Recognize the dashboard and the public page
After saving, you will usually be in the dashboard. This is the area for authorized users to write posts, create pages, change the theme, manage comments, and adjust settings.
The public page is the URL that readers use. These two locations are not the same: seeing the dashboard only proves that you can sign in; it does not prove that someone who is not signed in can view the blog.
In the dashboard, find the option to view the blog or open the blog address. Copy the displayed URL and record it separately. If the actual address has not yet been determined, keep the placeholder form [địa chỉ Blogspot thực hành] in your notes; do not turn the placeholder into a link yourself.
Check the blog from a reader’s perspective
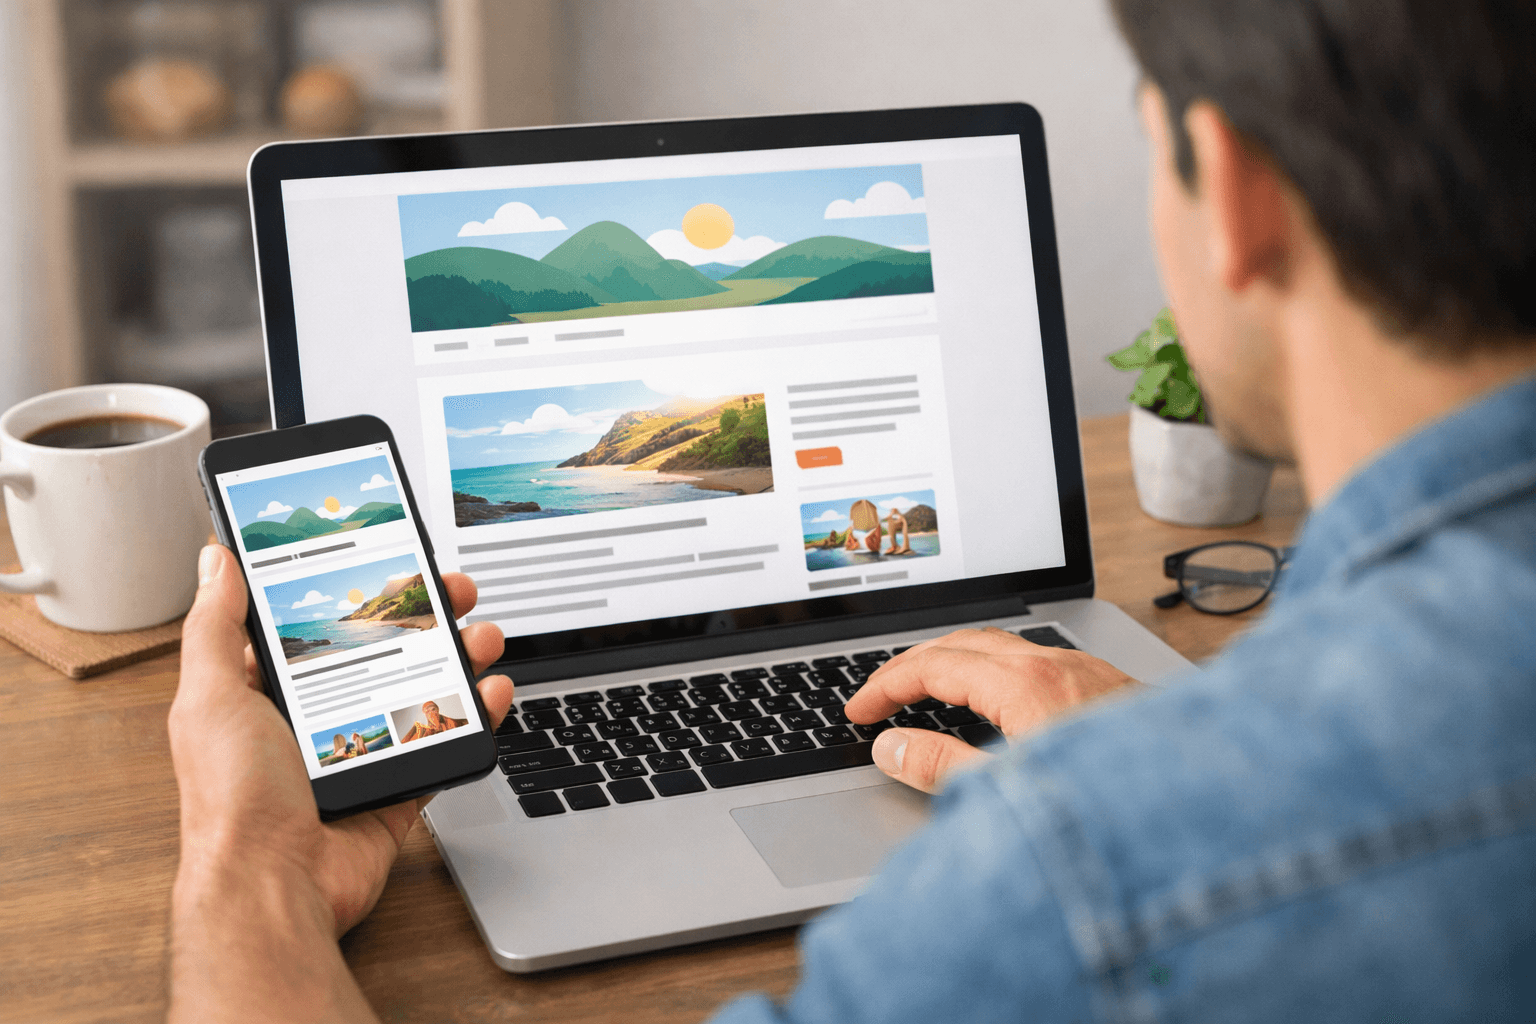
Perform this check after saving the blog:
- Copy the blog address from the dashboard.
- Open a private window or another browser that is not signed in to the Google Account managing the blog.
- Paste the address into the address bar and press Enter.
- Check whether the page opens.
- Compare the blog name and address with the information you selected.
- Check whether the page asks you to sign in.
A new blog may not have any posts yet, so its interface may appear empty. This is not necessarily a blog-creation error. The minimum result is that the URL opens the blog page and people who are not signed in can view it if the blog is public.
Record the following in a secure place:
- The email address of the Google Account managing the blog.
- The blog name.
- The public address.
- The creation date and the blog’s purpose.
Do not store your password in an unprotected text file. If you use a password manager, protect the manager account as well.
Troubleshoot common problems
| Symptom | Possible cause | How to check and fix it |
|---|---|---|
| Unable to sign in | Incorrect email address or password, or the wrong account | Check the email address, try the official account-recovery process, and do not rush to create a new account. |
| The address is already in use | The URL is no longer available | Try a short, memorable variation from the list you prepared. |
| The blog is not visible after creation | You are viewing the wrong Google Account or the wrong blog | Check the profile picture, sign-in email address, and blog-selection menu. |
| The public page asks you to sign in | The blog has restricted viewing access | In the reading-access settings, check whether the blog is set to public. |
| The address opens, but there are no posts | The new blog has no content yet | Do not delete the blog for this reason; confirm the URL and proceed to create your first post. |
Blogger can make a blog public or restrict its readership, so checking while signed in is not enough. If you change the reading permissions, reopen the URL in a private window to verify the result outside the administration interface.
Result verification exercise
Complete the following checklist using your blog:
- You selected the Google Account you intend to use long term.
- You checked the account recovery information.
- You chose a blog name that suits the topic.
- You selected and recorded the public address.
- You opened the address in a private window or a browser where you are not signed in.
- You confirmed that the page opens without requiring a sign-in, if the blog is set to public.
- You saved the management email address, blog name and URL in a secure location.
If any item is incomplete, address it before writing content. At this stage, you do not need to purchase a custom domain or modify the theme code.
Next step: create your first post
Once you have a URL and have confirmed that you can access it, the next step is to create a post with a title, paragraphs, headings and other appropriate elements; then preview it before publishing.
In the example project, the planned first post is “5 Things to Prepare Before Starting a Personal Blog”. This is sample data for practice, not a claim that the post has been published on SaibABC Blog. Once your blog passes the checklist, you can continue Write and Publish Your First Blogspot Post from Draft to Live to create your first post.
Reference source
- Create a blog — Blogger Help.
- What is a Google Account? — Google Account Help.
- Set up a recovery phone number or email address — Google Account Help.
- Manage your blog’s settings — Blogger Help.
