






If you already have a Blogger blog but do not know where to start publishing a post on Blogspot, complete a sample post before adjusting the design or thinking about advanced SEO. By the end of this article, you will have created a post with a title, headings, paragraphs, suitable images, and working links; previewed it; published it; opened it from a reader’s perspective; and edited it after finding errors.
The running example is a post titled “5 Things to Prepare Before Creating a Personal Blog”. SaibABC Blog is only an illustrative project name, not evidence of an existing blog with an active address, readers, or real posts.
Target outcome: The published post’s URL opens publicly, the content displays correctly on mobile, the image has alternative text, and the links lead to the correct destinations. If the blog restricts who can read it, the “public” outcome has not been achieved and you need to check the access permissions again.
Prepare the content and resources before opening the editor
You need a Blogger blog that you are authorized to edit, a browser signed in to the correct Google Account, and sample content for the post. If you have not created the blog yet, complete that step first; seeing the dashboard for another blog does not mean you are working in the correct one.
If you are still unclear about the difference between the Blogger platform and a Blogspot address, see the article comparing Blogger and Blogspot to understand the role of each term.
You should also keep a copy of the content in a separate document. This copy can help you restore content after an accidental edit; it does not replace checking backups and account access in other administrative steps.
Sample content for practice
You can copy the section below into the Blogger editor. It is a short sample for practicing the steps, not content that you must use word for word on your blog.
Title: 5 Things to Prepare Before Creating a Personal Blog
Define the blog’s purpose
Before creating the blog, write down whether you want to share knowledge, document your learning process, or build a long-term content channel. The clearer the purpose, the easier it will be to choose a topic and decide how to present it.
Choose your readers
Describe the group of people you want to help. For example, the blog could target beginners who want to build a website themselves but do not know which platform to start with.
Narrow the topic
A topic that is too broad will make it difficult to keep the post focused. Instead of discussing technology in general, you could focus on Blogger tutorials, website building, and content development for beginners.
Prepare the blog name
Choose a name that is easy to read, easy to remember, and unlikely to be confused with another organization or brand. The blog name and Blogspot address can be related, but they do not have to be exactly the same.
Plan a writing schedule
Record a publishing frequency that you can realistically maintain. A consistent schedule matters more than setting an overly ambitious goal and abandoning it.
Conclusion: Once you have defined the purpose, readers, topic, blog name, and writing schedule, you will have a stronger foundation for publishing content.
You also need at least one image that you have permission to use. Do not take an image from the Internet simply because it is publicly visible. Blogger has rules for adding images and videos to a blog; responsibility for having the right to use the content remains with the person who publishes it (according to support.google.com).
Create a new draft and enter the post content
- Sign in to Blogger in your browser.
- In the upper-left corner, select the blog you want to update.
- In the left-hand menu, select Posts.
- Select New post.
- Enter the title in the title field, then paste or type the content into the editor.
In this example, the title is 5 Things to Prepare Before Creating a Personal Blog. Do not enter the title again in the body, or the post may display two titles.
Save the draft before formatting it. A draft lets you continue editing without making the content public. In the Blogger app for Android, you can also save a post as a draft, but some settings—such as the theme, pages, and blog settings—are available only in the web dashboard (according to support.google.com).
Expected result: the post appears in the drafts list and can still be reopened for editing. If the post disappears, check that you are in the correct blog and signed in to the correct Google Account before entering the content again.
Format the post for easy reading
Do not use bold text on every line. Build the structure in this order:
- Post title: enter it in Blogger’s title field.
- Main headings: use them to divide the major sections.
- Subheadings: use them when a major section contains several smaller tasks.
- Paragraphs: each paragraph should focus on one idea.
- Lists: use them for steps, conditions or checklists.
To create a heading, select the line you want to format, open the paragraph-style menu on the toolbar and choose the appropriate heading level. Do not choose a heading level simply because the text looks larger; heading levels should reflect the relationship between sections. Clear headings can also help search engines understand the structure of the post, but they do not guarantee search rankings (according to support.google.com).
Check before continuing: each heading must be followed immediately by explanatory content. If a heading has no content beneath it, delete the heading instead of keeping it to make the page look longer.
Insert images you have permission to use and add alt text
Place the cursor where you want to insert the image and select the Insert image icon on the toolbar. Choose the image source, upload an image or select a suitable one, then click Insert. After the image appears, click it to resize, align or add a caption.
Alternative text (alt text) is a short description that helps screen-reader users understand what an image depicts; it is also useful when an image fails to load. For an image illustrating the sample post, you could use a description such as “Notebook listing five things to prepare before creating a personal blog”. Use this sentence only if the image actually shows that content. Do not stuff it with keywords or write “beautiful image,” because that does not describe what the image contains.
Select the inserted image, open its image-properties editor and enter a description in the alt or Alternative text, depending on the interface language. If the interface you are using does not show this field, do not insert code or an attribute whose purpose is unclear; keep the image valid and check the current help documentation again.
Blogger may compress and optimize images during upload, so use an image that is clear enough without being unnecessarily large. Check its dimensions on a phone after previewing it instead of viewing it only on a computer screen. The nofollow attribute relates to links, not to a mandatory requirement for every image.
Add links and check their destinations
Links should help readers take the next step, view a source or read related content. To create a link:
- Select the phrase you want to turn into a link, such as create a blog on Blogger.
- Select the link icon on the toolbar.
- Paste the complete destination address into the URL field, including
https://if that is the format of the address provided. - Check the address again, then select the confirmation option.
Do not use the phrase “click here” when you can clearly describe the destination. Link text such as guide to creating a blog on Blogger tells readers what they will find before they click.
For links to your own posts or pages, link only to destinations that already exist. Do not create a menu or link to a “Learn Blogger” page, a “Content writing” label or a custom address if those elements are still only planned.
After creating the link, open it in the preview or a new tab. If it opens the wrong page, return to the draft and correct the URL before publishing. For links to external websites, check the domain name and the destination page’s content; do not link to a suspicious page simply because its title seems relevant.
Preview and check the display on computers and phones
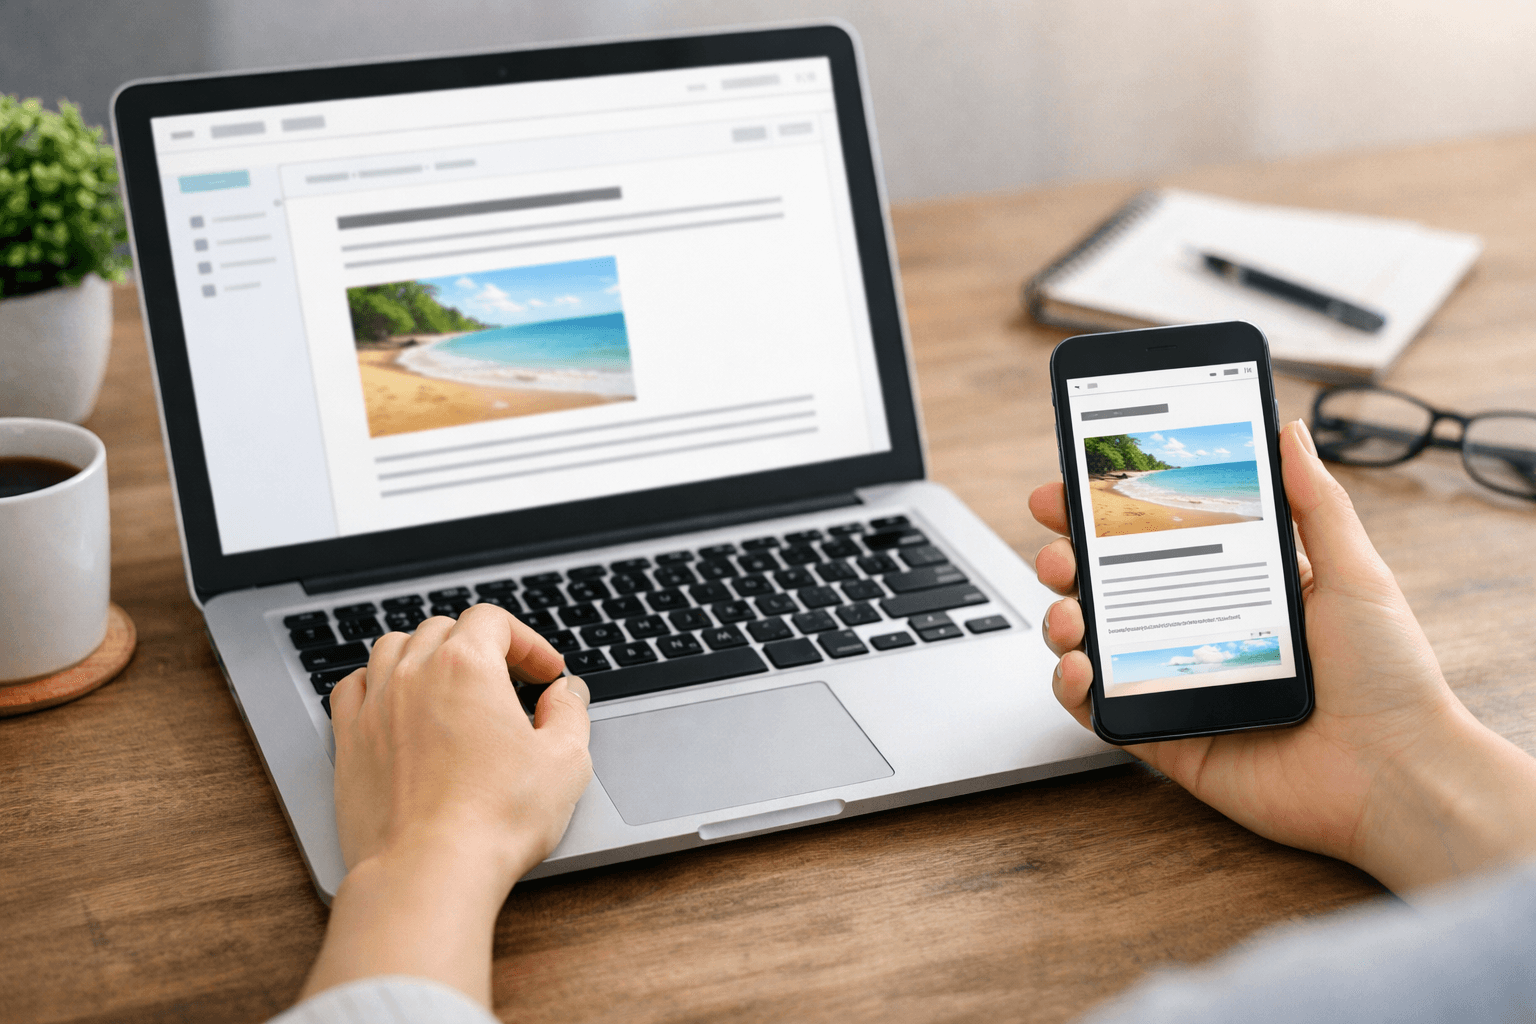
Before making the post public, select Preview. Previewing lets you see the post approximately as readers will see it, but it does not replace opening the public URL after publication. If you have a phone, use it to check the preview when the preview link permits access; otherwise, run the checklist on the public URL immediately after publishing.
Computer checklist
- The title accurately reflects the content and is not repeated.
- Headings appear at the correct levels, with no empty sections.
- Paragraphs do not run together or lose their diacritics.
- The image appears in the correct position without covering any content.
- The link opens the correct page.
- No HTML code such as
<p>or<h3>appears in the rendered article.
Mobile checklist
- The text is large enough that you do not need to zoom in repeatedly.
- The image does not extend beyond the screen width.
- The link can be tapped without accidentally selecting a neighboring element.
- Headings make the content easy to scan.
- There is no unexpected horizontal scrolling.
If the preview looks fine on a computer but breaks on a phone, reduce the image size, remove tables or complex formatting, and review the HTML if you pasted content from another tool. Publish only after you have fixed the issue or clearly documented what remains.
Publish the post and confirm that it is public
When the content passes the checklist, return to the editor and select Publish. If Blogger displays a confirmation dialog, review your selection and confirm the publication.
Do not confuse the admin page with the public page. Seeing the post in the Posts list only shows that it has been saved to the account; to confirm that readers can view it, do the following:
- Open the post list and copy the post-view link; do not use the editing link in the dashboard.
- Open a private window or a browser that is not signed in to the account managing the blog.
- Paste the post URL into the address bar.
- Check whether the post opens without requiring you to sign in.
- Compare the title, image, headings, and links with the preview.
- Repeat the process on a phone or mobile browser to check the actual layout.
If the blog restricts its readership, the private window may not be able to display the post. Blogger allows you to set the reading permission to public or restrict it to authors, so check the access settings rather than concluding that the post is faulty (according to support.google.com).
Success criteria: A reader who is not signed in can open the URL, see the correct title and content, load the image, follow the link to the correct destination, and view the page without horizontal overflow on a phone.
Edit a published post without losing control
If you find an error after publishing, open Blogger, select the correct blog, go to Posts and select the title of the post you want to edit. Modify the content, images, headings, or links, then select Update.
Before making a significant change, copy the current live content into a separate document and record the current URL. This gives you a point of comparison, but it is not an official recovery mechanism. In particular, do not change the URL of a published post simply to add a few keywords. If the URL must change, consider the impact on existing links first; advanced SEO is outside the scope of this article.
After selecting Update, reopen the public URL in a private window and check the exact section you edited. If the revision damages the layout, use your personal copy to restore the content, fix the section that caused the problem, and select Update again. Do not delete a published post merely because you find a minor error if it can be fixed safely.
Common errors when publishing a Blogspot post
| Symptom | Possible cause | Safe checks and corrective action |
|---|---|---|
| The post appears only in the admin area | You have not selected Publish, or the blog restricts its readership | Check the post status and reading permissions, then open the URL in a private window. |
| The image does not appear | The file has not finished uploading, the external image URL is broken, or you do not have permission to use the image | Re-upload the image from a source you are authorized to use; check it in the preview and at the public URL. |
| The link opens the wrong page | You pasted an editing URL by mistake, omitted a character, or used a placeholder address | Open the URL in a new tab, verify the domain, and edit the link. |
| The content appears as code | You pasted it into HTML mode by mistake, or the content contains an unclosed tag | Switch to the appropriate editing mode, remove the problematic section, and preview the post again. |
| The page has horizontal scrolling on a phone | An image, table, or embedded code is wider than the screen | Reduce the image size, remove unnecessary tables, or inspect the HTML. |
| The image is blurry or the layout has changed | Blogger optimizes images, or the layout renders differently | Use an image with sufficient resolution, do not enlarge it excessively, and check it on an actual device. |
| The private browsing window asks you to sign in | The blog or post is not publicly accessible | Check the blog's reading permissions, republish the post if it is still a draft, and then reopen the URL. |
Completion exercise and next steps
Create a draft using the sample content or your own topic. Before publishing, check the following items:
- You selected the correct blog and entered a title that accurately describes the content.
- You divided the content into meaningful headings.
- You have at least one image that you are permitted to use.
- You wrote alternative text that accurately describes the image.
- You added links and tested each destination.
- You previewed the post on a computer and checked its appearance on a phone when possible.
- You published the post and opened the public URL while signed out.
- You checked the URL again after selecting Update.
- You saved a copy of the content before making major edits.
At this stage, you do not need to optimize for advanced SEO, install custom code, or purchase a custom domain. The priority is to create a public post with a clear structure, properly licensed resources, and verifiable results. You can then use the published post to review the blog's basic settings, such as reading permissions, comments, visibility, and other options.
The next step in this series is to review the blog's basic settings. Move on only after recording the post URL and confirming that someone who is not signed in can open the post.
Reference source
- Add images & videos to your blog — Blogger Help.
- Help people find your blog on search engines — Blogger Help.
- Control access to your blog — Blogger Help.
- Use the Blogger mobile app on Android — Blogger Help.
