






If you cannot verify your website on Yandex, do not try multiple methods at the same time. Record the error message, identify whether you are using a meta tag, HTML file or DNS TXT record, then check the evidence required by that method.
After this article, you will know how to narrow down the cause, confirm the result before trying verification again, and keep a log so you can roll back changes. The procedure uses WordPress and SaibABC.Com as illustrative examples; this website is not assumed to be connected to or verified in advance. Placeholders such as [URL chính thức của website] and [mã xác minh do Yandex cung cấp] must be replaced with data that has been actually verified.
First, identify which step is failing
Adding a website to Yandex Webmaster, verifying management rights, and getting it indexed are three different things. A website appearing in the list does not prove that the verification code has been accepted or that the page appears in search results. Addresses with different protocols or domain prefixes, such as HTTP/HTTPS and with or without www, may be treated as different addresses in the management process (according to Yandex Webmaster’s Getting started).
| Symptom | First check |
|---|---|
| Website added but verification is still required | Confirm the correct URL, the correct Yandex account, and the selected method. |
| Meta tag not found | Is the tag inside the <head> of the public homepage, and does it appear in the source code? |
| HTML file not found | Does the file have the correct name and content, sit in the root directory, and open at a public URL? |
| DNS record not found | Does the record have the correct TXT type, name/host, and value, and was it created at the authoritative DNS provider? |
| Bot receives a response other than 200 OK | Do the server, redirects, HTTPS, IPv4/IPv6, or security layer return verifiable content? |
Compare the URLs before changing code or DNS
This step can cause all three methods to fail if skipped. The browser may automatically redirect http://example.com to https://www.example.com; the final address is the one you need to compare, not the domain you remember from earlier.
- Where to work — browser: Open the website in a private window without signing in.
- Enter the version you are using, wait for the page to finish loading, and record the final address in the address bar.
- Record the protocol, domain, and whether it does or does not include
www. - Where to work — Yandex Webmaster: Open the exact website that is requesting verification.
- Compare the two addresses character by character. If you do not know which version is official, write “Not finalized,” ask the administrator, and do not change DNS or redirects yet.
For SaibABC.Com, leave [URL chính thức của website] unchanged until the actual address has been checked. Do not turn the illustrative website name into a verified URL.
Diagnose the method and error message
| Message or symptom | Possible cause | How to verify | Safe handling |
|---|---|---|---|
| “Meta tag not found” | The tag is missing, contains the wrong code, is outside <head> or has not appeared in the public HTML. | In a browser, open the public homepage, choose to view the source code, and search for yandex-verification. Check its location and the contentvalue. | Reinsert the exact tag provided by Yandex, save the configuration, and check the source code before trying verification again. |
| The code has been inserted, but Yandex cannot find it | The cache is serving old HTML; the code is visible only to administrators; or the plugin or theme has not output the code. | Open a private window or a browser where you are not logged in to view the HTML delivered to visitors. | Refresh or clear the cache according to the website’s procedures. Do not remove every security plugin because of a single failed attempt. |
| “HTML file not found” | The file is in the wrong directory, has the wrong name or content, or its URL redirects to another page. | Open the file URL directly. The result must be the verification file with the correct content—not the homepage or a login page. | Place the correct file in the root directory and check its read permissions. Do not modify other files. |
| “The content of the received HTML file differs” | The server or CMS automatically adds content, redirects the request, or changes the file. | Compare the content requested by Yandex with the content actually returned by the server. | Keep the file limited to the required content. If the platform does not allow this, choose the meta tag or DNS TXT method. |
| “DNS record not found” | The record type, name/host, value, domain, or DNS provider is incorrect, or the DNS record has not yet updated. | Check with the authoritative DNS provider and confirm that the record is a TXT record. | Record the previous value, correct the verification record, and wait for the provider’s update to take effect. Do not delete records in bulk. |
| The bot receives a response other than 200 OK | The server returns an error, redirects unexpectedly, requires login, or a protection layer blocks the bot. | Check the URL or file with the server-response inspection tool in Yandex Webmaster, if the current interface provides one; compare the HTTP status code and returned content. | Fix the underlying cause at the server or protection layer. Do not disable all security merely to test verification. |
| The site was verified but access was later lost | The tag, file, or DNS record was deleted; a plugin or theme overwrote the code; or the website is no longer accessible. | Check the verification evidence and access status again in Yandex Webmaster. | Restore the evidence, check it again, and record the change. Keep the evidence if the website still needs to be managed. |
If you use a meta tag in WordPress
A meta tag is suitable when you can insert code into the head section but do not manage DNS or the root directory. The tag must be placed in the <head> of the homepage HTML; placing it in a post, footer, or an HTML block in the body is incorrect.
- Where to work — Yandex Webmaster: open the website awaiting verification, select the meta-tag method, and copy the complete tag provided for your account.
- The example below illustrates the structure only; it is not production code:
<meta name="yandex-verification" content="[mã xác minh do Yandex cung cấp]" /> - Replace the text in square brackets with the exact code from your account. Do not create a string yourself, rename attributes, or use code from another website.
- Where to work — WordPress: paste the complete tag into the field or tool that outputs code to
<head>. The menu name depends on the theme, plugin, and website implementation. - Save the configuration. If you edit the theme or child theme, back up the existing content and record where you inserted it so you can undo the change.
- Where to work — browser: open the public homepage, select “View Page Source,” and search for
yandex-verificationand check that the tag is between<head>and</head>, with thecontentvalue matching character for character. - Only after you see the tag in the public HTML should you return to Yandex Webmaster and click Verify.
If the source code still does not contain the tag, check whether the change was saved, the scope of the code-insertion tool, and the cache. If you have refreshed the cache according to the administrator’s procedures and the HTML still does not contain the tag, stop and ask the administrator to investigate; do not click Verify repeatedly.
If you use an HTML file
Choose this method when you have access to the hosting account or server to place the file in the root directory serving the correct domain. The file name and content must come from the Yandex screen; do not choose a name or create substitute content yourself.
- Where to work — Yandex Webmaster: select the HTML-file method and record the file name and content exactly.
- Where to work — hosting or server: place the file in the root directory of the correct website, not arbitrarily in a subdirectory. Check the file’s read permissions.
- Where to work — browser: open
[URL chính thức của website]/[tên-tệp-do-Yandex-cung-cấp]. Replace both bracketed parts with data that you have actually verified. - Make sure the URL does not require login, return a 404 error, display the homepage instead of the file, or contain content that differs from the requirement.
- Return to Yandex Webmaster and click Verify.
If the file opens but Yandex reports different content, check the document root, filename, read permissions, redirects, and whether the CMS or server is adding content automatically. Do not delete or modify other files. After verification, delete the verification file only if your administration policy allows it and you have recorded how to undo the change.
If you are using DNS TXT
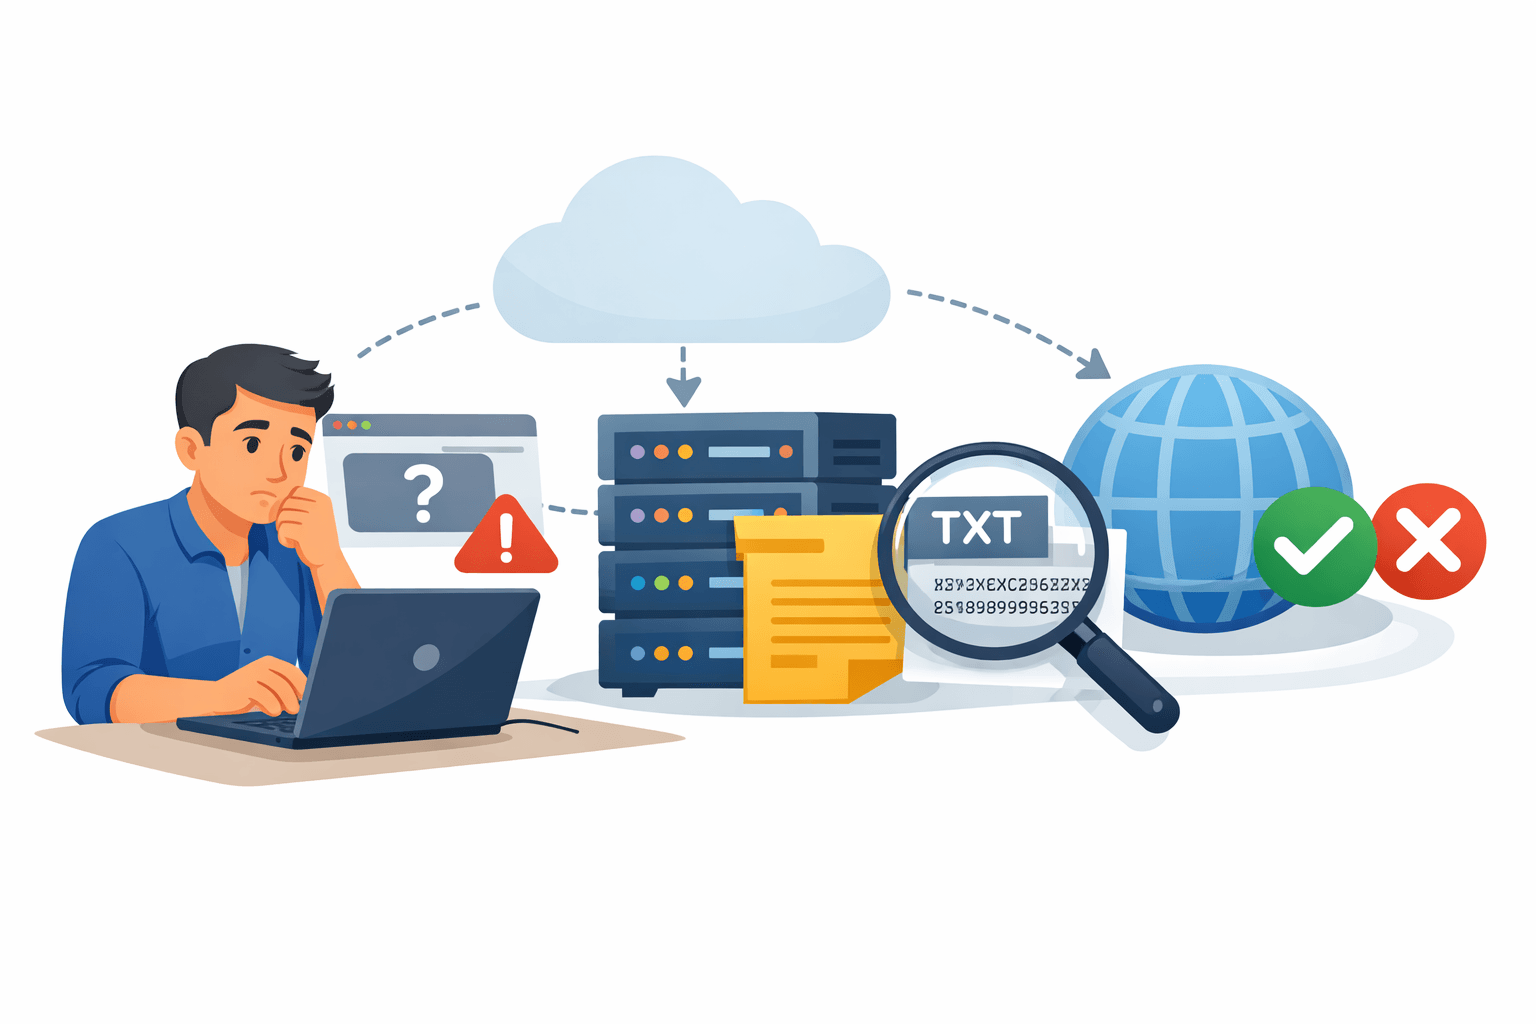
DNS TXT is suitable when you manage the domain or can ask the appropriate DNS administrator to make the change. This method does not require modifying WordPress, but changing the wrong record could affect the website or email.
- Where to work — Yandex Webmaster: select the DNS method and copy the name/host and TXT value exactly.
- Where to work — domain registrar or DNS provider: confirm that you are in the service with authoritative control over the domain’s DNS.
- Record the relevant records before making changes. Do not delete records
MX,A,CNAMEorTXTothers unless you know what they are used for. - Create a record of type
TXTusing exactly the name/host field and value provided by Yandex. Some interfaces automatically append the domain name to the host field, so follow the instructions from the DNS provider itself. - Check that the record has appeared in public DNS, then return to Yandex Webmaster and click Verify.
If Yandex still cannot find the record, recheck the type, name/host, value, domain, and DNS provider. Do not immediately create multiple identical records or delete existing records in bulk. If you need to roll back the change, delete only the specific verification record after assessing the impact and saving the previous configuration.
Check the server, HTTPS, and security layer
The fact that your browser can open the website does not mean that a bot receives the same response. The server may require a CAPTCHA, block requests by IP address, require login, return an error, or handle IPv4 and IPv6 differently. The website may also redirect HTTP to HTTPS but end at the wrong address.
In Yandex Webmaster, use the server-response checking tool if the current interface provides one. Check that the homepage or verification-file URL is publicly accessible, redirects to the correct final address, and returns 200 OK; if there is a bot-checking step, select the Yandex Webmaster bot.
- Check the URL in a private window while logged out.
- Check whether the HTTPS certificate shows a serious warning or redirects incorrectly.
- Check whether the URL requires a password, displays a maintenance page, or presents a CAPTCHA.
- Check whether the redirect ends at the correct protocol, domain, and verification content.
- Ask the hosting administrator or review the server logs if only the bot is being blocked.
- Check both IPv4 and IPv6 if the website supports both.
Grant only the minimum access required for the necessary URL or bot, following the security provider’s procedure. Do not disable the entire firewall, anti-spam protection, or login requirement before identifying the cause. This article does not require reinstalling the server, PHP, PHP-FPM, PHP extensions, the database, or OPcache, or modifying php.ini; these components are not necessary for verification itself and should be investigated only if the server logs indicate a separate problem.
Log, verify, and roll back changes
When you try several methods at once, it becomes difficult to determine which change had an effect. Record one line for each modification:
| Time | Method | Change | Evidence before verification | Result | Rollback procedure |
|---|---|---|---|---|---|
| [ngày, giờ] | [meta / HTML / DNS] | [mô tả ngắn] | [mã nguồn / URL tệp / DNS] | [thông báo nguyên văn] | [khôi phục thẻ / tệp / bản ghi cụ thể] |
Before clicking Verify, you must confirm external evidence: the tag appears in the public source code, the file opens with the correct content, or the DNS TXT record contains the correct value. After clicking it, record the status displayed by Yandex. Success at this step proves only that management access has been accepted; it does not prove that the website has been crawled, indexed, or ranked.
When should you stop and ask someone with the necessary access for help?
Stop if you have not identified the official URL, do not know the authoritative DNS provider, lack hosting access, or the change could affect email or website availability. Having permission to publish in WordPress does not mean you have permission to modify <head>, upload files, or change DNS.
When requesting assistance, provide the URL being verified, the selected method, the exact error message, and the evidence you checked. Do not send your Yandex, WordPress, hosting, or DNS passwords.
Verification troubleshooting exercise
Apply this to a website you manage and complete the template with actual data:
- URL in Yandex Webmaster:
[URL chính thức của website] - Final address in the browser:
[URL đã kiểm tra] - Method:
[thẻ meta / tệp HTML / DNS TXT] - Exact error message:
[ghi lại thông báo] - Evidence:
[mã nguồn / URL tệp / bản ghi DNS / phản hồi máy chủ] - Most recent change:
[mô tả thay đổi] - Rollback procedure:
[mô tả cách khôi phục] - Result after checking again:
[đã xác minh / chưa xác minh / cần hỗ trợ]
The exercise is complete when you can answer three questions: Which address is Yandex verifying? Where is the evidence? and What response did Yandex receive? If you cannot answer one of these questions, do not try another method yet.
Conclusion and Next Steps
The safe approach is to move from evidence to changes: verify the URL, read the error message, check the correct verification method, confirm the result externally, and only then click verify again. For a meta-tag error, inspect the HTML in <head>; for an HTML-file error, check the path and file contents; for a DNS error, check the record type, name/host, value, and provider; and for a response error, check HTTPS, the server, and the security layer.
Do not disable all security controls, make bulk DNS changes, or insert multiple codes simply to test different possibilities. If verification succeeds, keep a log and proceed to check the status, notifications, and access permissions in Yandex Webmaster using the following shortcode: How to Read the Yandex Webmaster Dashboard After Verification
Reference source
- Getting started — Yandex Webmaster.
- Verifying the site rights — Yandex Webmaster.
- Managing access rights — Yandex Webmaster.
- Contact Yandex Webmaster support — Yandex Webmaster.
